Here more or less the full list of things to do. More or less is due to the fact that I assume you already know the JGrass or at least the Udig or at very least the Eclipse RCP development environment. Also some sort of OpenMI knowledge should be here. All in all I'm not sure how many will find this useful. Hmmm... I'm sure at least one of the chapters could be.
Why I'm doing this? Because next week I have to present a whole bunch of the JGrass stuff at the EGU and I need some docu. Enjoy :)
UPDATE: please note that now the steps 1 and 2 are done the clean rcp way throught extension points. Read here for more info.
1) Create your MACAD
My example will treat an OpenMI based model, i.e. h.pitfiller.
The model extends ModelsBackbone, which implements OpenMI's interface ILinkableComponent.
Create such a MACAD and implement the needed methods.
2) Tell the console engine that the new model is there
In the list of available MACADs add your new model, so that the engine knows that your MACAD exists.
The line looks like the selected in the image below:
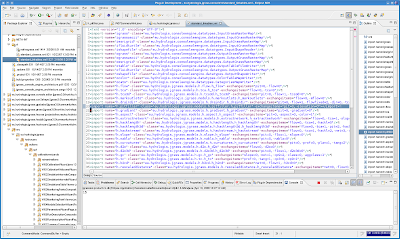
which basically tells us what the model's name and class are.
Also information is given about the arms the MACAD has. In this case 2 arm, which define the input elevation map and the output depitted map.
Note that at this point the model h.pitfiller can already be used in the JGrass console as
h.pitfiller --igrass-elevation elevation --ograss-pit pit
3) create a gui xml file definition for the MACAD (the UIBuilder of JGrass)
Create a file with the same name of the MACAD and xml extention and fill it with the following:
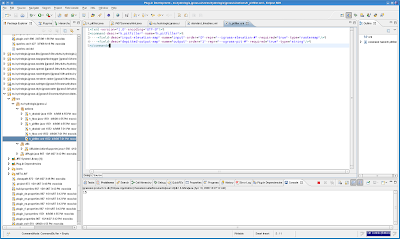
The first line will create a label of text descr, a textfield and a button that opens a map selection window.
The second creates a label of text descr and a textfield for the output map name.
When ok is pressed, the widget creates a command string build by the name of the command tag and the repr of the fileds tags, substituting the # with the user input:
h.pitfiller --igrass-elevation userinput --ograss-pit userinput
4) create an rcp action to launch the command
Once the gui definition is there, we need something to trigger the action.
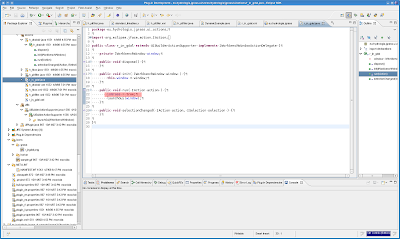
Eclipse RCP's actionset comes to help us. I create a plugin inside which I keep all the gui for console commands and create an action. In the below image you can see the whole context with adifferent menus and action groups.
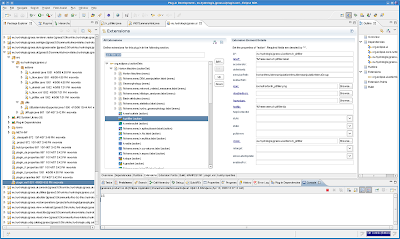
Please note the textfield class, inside which I put: eu.hydrologis.jgrass.ui.actions.h_pitfiller
The class MUST have the same name as the MACAD you want to create!
Let's create the class by clicking over the hyperlinked text class which will create the action class with all the needed implementation of interfaces and methods.
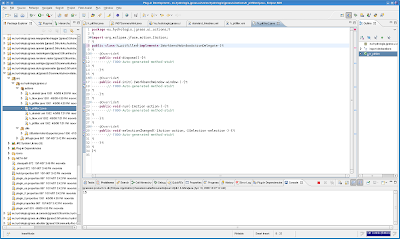
And now the same class with the needed changes:
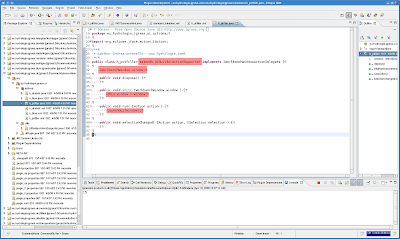
Apply the same changes and that is all. If you didn't do so, put the xml gui definition file inside the same package as the action class. Take a look at the screenshot above to see how it should look inside of the actions package.
5) try it out!
Launch JGrass and search in the menu bar your new item. In my case there are a lot, as I already have a whole bunch of organised MACADs in my configuration. However, here I go with pitfiller:
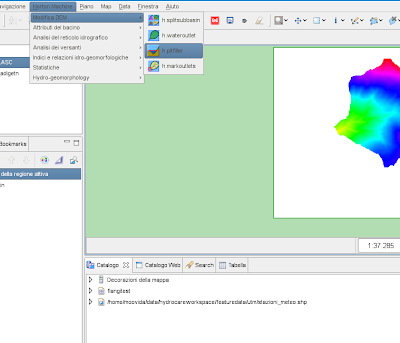
and the autogenerated gui looks like:
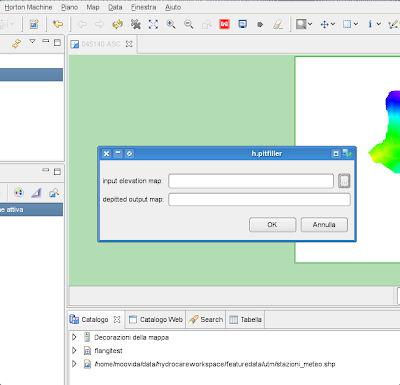
6) what happens when I click ok?
The uibuilder creates the commandline representation of the command line execution.
After that the command is passed to the console engine and a backtrace console window is attached to the process in order to deal with output and errormessages.
So the running h.pitfiller command looks like the following:
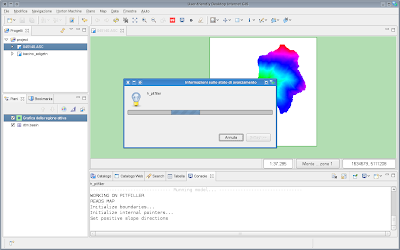
The same could have been done with any GRASS command, apart of the fact that you will not need to create the MACAD yourself :)
Alright, so let's see how to do the same with r.in.gdal, the GRASS native high power raster data import tool.
What you have to do different from before, is that when you create the action class, you need to tell the execution facility class that it is a GRASS command:
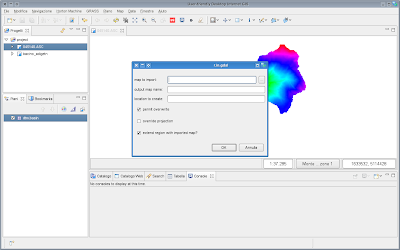
Create the xml file with the options you need:

and fully enjoy your new command:
No comments:
Post a Comment