Bye bye uDig
This post should have been written ages ago. But I have never been ready to do so. And it still is very difficult for me to properly write something about my exit from the uDig community. The Open Source ecosystem is a particular one and people not involved in the same way understand things differently. But I love the Open Source ecosystem, it gives you always a new possibility even if it might seems there is none.
So I will try to stick with the facts, even if being my personal blog some passion could seep through.
We have loved uDig for many years. We have contributed about everything that means raster analysis in uDig and have been in the Project Steering Committee for several years. We fought the trend that was keeping uDig "only" an SDK for developers instead of a desktop GIS for the community. And well, it is time to say that we failed.
My guess is that uDig will never be a widely used desktop GIS, i.e. a standalone GIS. uDig will always be an amazing SDK. Something you use to build great location aware applications.
uDig has always suffered from the fact that there were almost no contributions in the last 5 years. No resources/interest to the fix bugs that were stopping people from using it. uDig didn't evolve much. Resources were really low and at some point I remember always the same 3 developers trying to get uDig up and running, adding stuff, making it work: Jody, Frank and myself.
Then, in this low resources situation we made a huge error. We started the migration into the Locationtech Fundation. Which is not an error per se, but in the conditions the community of developers was in, that has been an irresponsible move. uDig entered a kind of limbo from which I think it still didn't exit. There was no real well working version available and all resources were in the migration process. A process that lasted about 2 years. In the meanwhile we lost possible contributions (at least one big I know of), since it was not clear were to contribute: the old was old, the new was never finished.
In the middle of all this mess, in which Jody and Frank were doing a big big voluntary work and keeping the uDig ecosystem on their shoulders alone (kudos for all that to you guys), I started to retire from uDig. Several long discussions at the Nottingham Foss4G opened my eyes an made me understand that I was in the wrong project.
uDig was on the way to be an only-SDK project (if you disagree with that i will be happy to openly discuss about it) and this was no longer something I would be part of.
Also, the Locationtech environment was not exactly what I expected it to be (I am not saying good or bad, I am just saying not the right thing for me).
So we left... without knowing where to go. For a couple of years we were working without a desktop GIS. Something that had never happened before... and it felt really wrong!
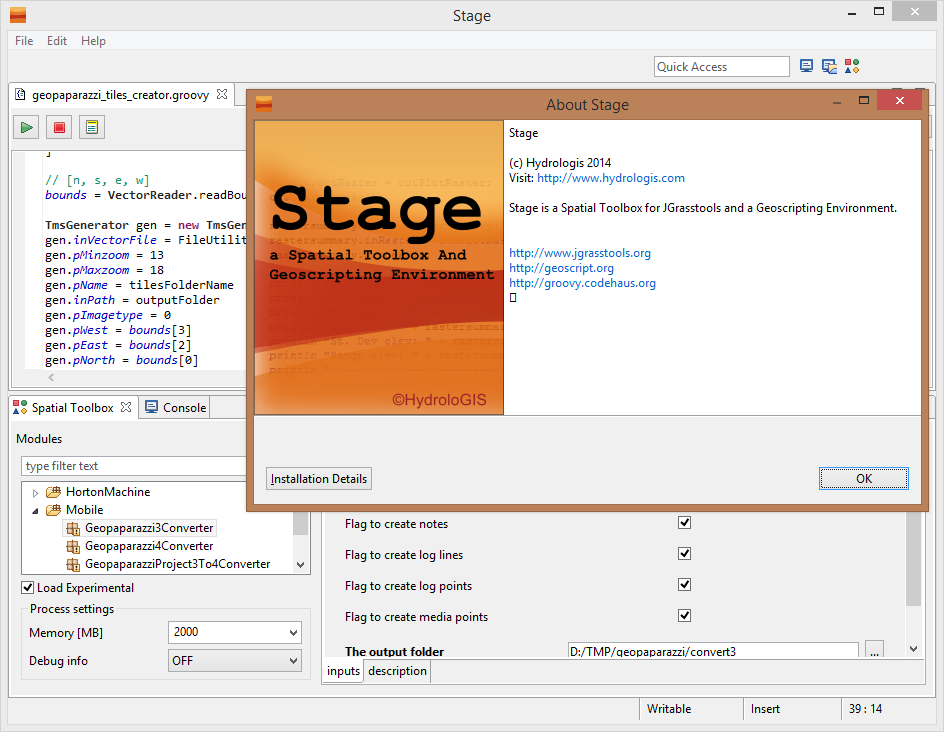
But our clients needed our tools, so we created the standalone version of the spatial toolbox,
S.T.A.G.E.
Funny thing is that once the tool was standalone, also QGIS users approached us, because it was handy. They didn't like it in uDig, but if they could use it with QGIS it was ok :-)
Hello gvSIG world!
Well, time passed and it was still unclear to us were we would land. uDig was still blocked somewhere in the migration process... when a company of friends of ours invited us to come to the gvSIG conference in 2014, offering to pay travel and accommodation. They were interested to see our Geopaparazzi digital field mapping tools inside gvSIG to use them in projects in development countries. While I was still emotionally too bound to uDIG to cheat on it, Silvia was very sensitive to the words "development countries", so we decided to accept the offer.
We had a private meeting with the gvSIG Association members and developers to discuss the possibilities to work together and migrate our JGrasstools and Geopaparazzi libraries into gvSIG.
I have to admit they were extremely helpful and we also made a session to quickly get me up and running with gvSIG development.
After the conference we came back to reality... with no funding we could never migrate... the process was simply too big. So time passed and nothing happened. Secretly I hoped the uDig migration nightmare would be over and we could go back to normal life.
A couple of months ago we decided to end the suffering and at least try something. So I contacted Alvaro Anguix from the gvSIG Association and discussed with him the blockers we had (mainly about the projection system) to start using gvSIG. After some discussions, we decided that it would be best for me to spend a week with them at the gvSIG headquarters in Valencia, hacking, coding and discussing the way thing should or should not be.
At the begin of this month I did exactly what that. I tried to prepare myself as much as possible in order to have tons of complex questions for their developers and flew to Valencia.
I had the luck to sit for a week near gvSIG's main architect and talk daily also to other developers, as well as discuss about user needs and features and Open Source philosophy. I found gvSIG to be a nice community, even if until that moment focused heavily on the latin world.
So let me show you what we were able to achieve in the last weeks.
I started with the aim to:
- bring the water management module based un Epanet into gvSIG
- bring support for geopaparazzi databases to gvSIG
The water management module
Porting that module has been fun. The biggest difficulty has been understanding the styling engine of gvSIG, which is way different from uDig.
So for now we have a HydroloGIS menu inside which an Epanet menu appears. From there you can do the usual stuff: create new project files, link the layers properly together the Epanet way (filling in the attributes) and style layers:
When you run the module, the usual wizard appears. Now that wizard remembers exactly everything you entered before, which comes in handy when working a lot with simulations.
Results are stored directly into a sqlite database. One file can also contain more simulation runs.
The results can be visualized in two ways:
- view the state of the network in one moment (in time) on the whole map. This now looks way better than in uDig, since gvSIG allows for a nice legend to be updated. So in the layerview you will see also the values for each colored pipe or pump or junction.
- view the whole timeline of one of the pieces of the pipeline.
If you are interested to know more about it,
come to this year's gvSIG conference, Silvia will give a talk about it:
GIS tools for water supply systems: an implementation using JGrassTools and gvSIG
Geopaparazzi support
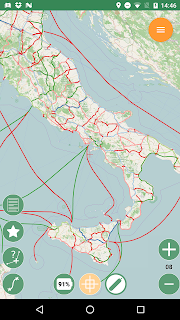
gvSIG now has direct Geopaparazzi database support. That means that as you add any WMS, shapefile or tiff layer, now also an option for Geopaparazzi appears.
Once you select the database file, some information about the database will appear, as well as the layers it will create on loading:
You have the option to import it to temporary layer, but also to create shapefiles from the database.
The second option gives more features and is the suggested way to go.
Once imported, the layers will be generated with their own default style and labeling:
The media layer can now be queried with an own tool:
So if you select one or more images, they will be opened:
gvSIG now also has the tool to create a tileset (for Geopaparazzi basemaps) from the current view:
If you are interested in this, again,
come to this year's gvSIG conference, I will be giving a talk about it. :-)
Digital field mapping with Geopaparazzi and gvSIG
The spatial toolbox: JGrasstools
Since things were going really fast (I was in Valencia and working around 15 hours a day, no partying for me this time :-) ), I decided to also give the spatial toolbox a try.
One thing that helped, was the fact that gvSIG is licensed under GPL license, which is the same one I love and JGrasstools are licensed under. That gave huge advantage during the integration.
This took a bit more work, also after the Valencia days, but it is already usable:
Obviously the layers are taken from the current selected map view and the coordinates (as in the above extract basin module) are set form clicks on the map.
If you are interested in this, again-again
come to this year's gvSIG conference, I will be giving a talk about it. :-)
New tools for LiDAR, forestry, river management and hydro-geomorphology in gvSIG
Styling rasters
I am not sure why that happens, but every time I approach a GIS first, rasters is one of the last things to be considered. :-) Also the gvSIG raster system is not the best right now, but I know that there are resources to work on it next year, so I am quite happy about it.
For now, one thing that is really necessary, is the possibility to style rasters properly.
Right now, if I define a colortable for a map, I get 255 color rules.
One good example is the
map of aspect. Such a map, that ranges between 0 and 360 degrees, is usually coloured from white to black between 0 and 180, and from black to white between 180 and 360. So all you need would be 3 rules, not 255 which make everything unreadable (apart of being wrong):
If I wanted to customize them, the only way I seemed to have, was selecting and editing each rule. That got odd very quickly.
So it has been better to invest that time to create a small styling tool, which right now is hosted in the HydroloGIS menu, but I really hope it will get into the raster style engine at some point.
An example: One of my favourite base maps is the elevation model with the aspect map overlayed with transparency, which gives that 3D sensation.
Just select the colortable and the transparency. Also the number format pattern in the legend and push apply. That is it:
Some legends are just colors, which will be adapted between the min and max of the raster map. Others, like the map of flowdirections instead, have defined unique values and colours:
One thing I have not been able to, is styling a map with a logarithmic scale. I have tried but failed. That one is for example important for a map like the one of total contributing areas, where the values range from 1 (many many cells) to huge numbers (but few few cells):
well, this should look more like this:
Coordinates Info tool
To exercise myself (and because Silvia forced me to :-) ) I developed a mini-plugin that allows the user to view the clicked coordinates and see them in another projection, but most of all allows to copy them quickly to use them:
Well known text tools
A last small tool that I added is the WKT toolbox. It is a very simple tool, but we find it very useful:
With it you can select a geometry in the layer and extract the WKT representation of the geometry.
The same way, in the lower box, you can write/paste some WKT geometry and it will be inserted as new feature in the currently selected layer, if it is of the same geometry type.
This makes it very easy, for example, to insert points in a layer.
Conclusions
Well, it is strange for me to finish a blog post with a conclusions section, but this one requires it.
I love the open source ecosystem. Once again, even if with much work and some investment, we have been able to find what we needed. HydroloGIS will from now on embrace the gvSIG community and bring its tools (as well as the ones from the universities of Trento and Bolzano) into gvSIG (time and resources permitting).
We have a desktop GIS again. We have a community that focuses on a community GIS again. One that focuses on user needs and tools, on cool selection features, even cooler editing features, on a working printing system (do we want to produce maps or not!??!?!), on 3D, on linear referencing, on table joins, and... and...
Hardhearted I bid farewell to the uDig project. With a small tear in my eyes I say ciao to those great developers with which I shared many nights, code sprints and fun talks. Jody and Frank, it has been a great journey with you and I will see you at the next Foss4g. I know you will bring uDig on top again at some point even without me ;-). Good luck in your quest!