When android started to support multiple screen densities, geopaparazzi started to have some problems with blur icons on different devices. I was delaying the creation of the icons at the density for gigh/medium/low density devices... because I didn't know exactly how to do them :)
Well, recently I started the the new toolbox slider for geopaparazzi
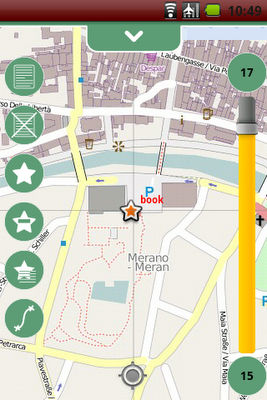
and those were looking really ugly at the wrong densities, so I had to face that density thing.
This is how I did it with inkscape, after studying some icons done with the amazing asset studio. As I realized for menu icons for example, they generate for the different densities (assume squares):
hdpi: 72 pixels at 72 dpi
mdpi: 48 pixels at 72 dpi
ldpi: 36 pixels at 72 dpi
With that info my workflow was the following for an icon that I needed to be of size in android = 32 dip:
1) define the sizes I need, assuming that the 32 dip are well fitting with the mdpi mode:
hdpi: 48 pixels at 72 dpi
mdpi: 32 pixels at 72 dpi
ldpi: 24 pixels at 72 dpi
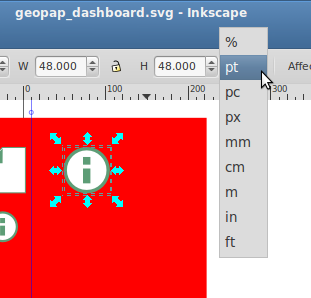
2) inside of inkscape, were I created all the icons, I resize my images to be 48, 32, 24 pt. Please note it is pt, non px.
3) export the images as icons for the different sets in hdpi, mdpi and ldpi in the android app.
an believe it or not, now I have very clear and smooth icons in my application.
--------------------
Update 1:
For an Olitab using 320x320pt at 72 dpi looks good
Well, recently I started the the new toolbox slider for geopaparazzi

and those were looking really ugly at the wrong densities, so I had to face that density thing.
This is how I did it with inkscape, after studying some icons done with the amazing asset studio. As I realized for menu icons for example, they generate for the different densities (assume squares):
hdpi: 72 pixels at 72 dpi
mdpi: 48 pixels at 72 dpi
ldpi: 36 pixels at 72 dpi
With that info my workflow was the following for an icon that I needed to be of size in android = 32 dip:
1) define the sizes I need, assuming that the 32 dip are well fitting with the mdpi mode:
hdpi: 48 pixels at 72 dpi
mdpi: 32 pixels at 72 dpi
ldpi: 24 pixels at 72 dpi
2) inside of inkscape, were I created all the icons, I resize my images to be 48, 32, 24 pt. Please note it is pt, non px.
3) export the images as icons for the different sets in hdpi, mdpi and ldpi in the android app.
an believe it or not, now I have very clear and smooth icons in my application.
--------------------
Update 1:
For an Olitab using 320x320pt at 72 dpi looks good
1 comment:
Very useful, thanks. :)
Post a Comment